Hardware Setup
New to Robot Hardware? Start Here
Think of your robot like a remote control car, but much smarter. Just like a car needs:
- Motors - like the wheels that make it move
- Controllers - like the remote control that tells motors what to do
- Sensors - like a speedometer that tells you how fast you're going
- A brain - like the electronics inside that process everything
This page explains the specific robot parts you'll use in this workshop and what each one does. If terms like " CAN bus" or "encoder" are new to you, that's fine. We'll explain each one as it comes up.
Hardware Setup - Building the Foundation
Overview of the motors, sensors, and controllers you'll connect for this workshop.
Solid hardware configuration enables precise and reliable robot control.
Hardware Components
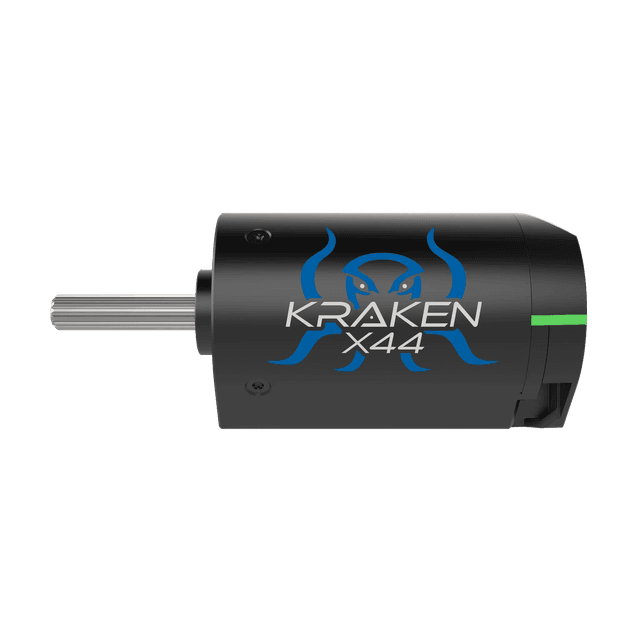
Kraken X44 Brushless Motor
What it is: A motorwith a built-in "brain" (controller). Instead of just spinning when you apply power, it can precisely control how fast it spins and exactly where it stops.
Why it's special: Most motors need a separate controller box. The Kraken has the controller built right in, making wiring simpler and saving space on your robot.
What you need to know:
- Strong enough to lift heavy arms and spin flywheels
- Spins up to 100 times per second
- Has built-in position sensing so it knows exactly where it is
- Communicates with your code through a wire called CAN bus

CANcoder – Position Sensor
What it is: A sensorthat measures exactly where a rotating part is positioned. It can tell you "the arm is at 45 degrees" with high precision.
Why you need it: The encoderbuilt into your motor gets set to 0 degrees every time it powers on, which causes problems if the arm doesn't start in the same position every time. The CANcoder uses a magnet, so it remembers its position.
What you need to know:
- Remembers position even when robot is turned off (absolute position)
- Mounts directly on rotating shafts
- Connects through CAN bus like the Kraken motor
- Works with hex shafts commonly used in FRC
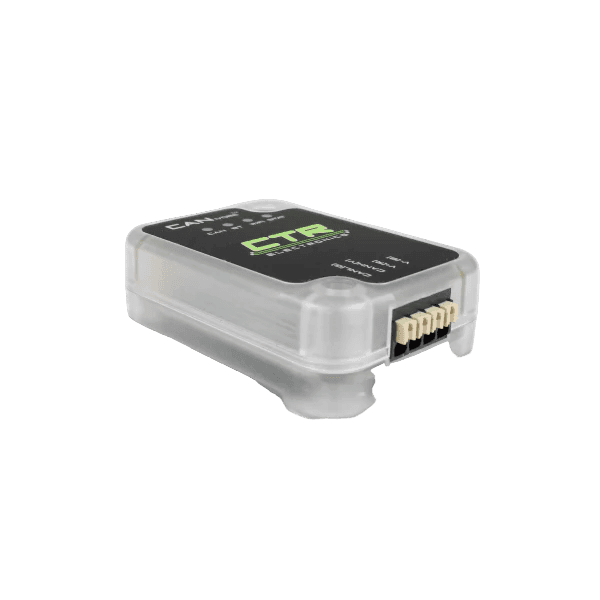
CANivore – Communication Hub
What it is:A device that creates a high-speed "conversation network" for all your robot parts. Think of it like a Wi-Fi router, but instead of connecting phones and laptops, it connects motors and sensors.
Why you need it:Just like you can't have 10 people all talking at once in a small room, robot parts need an organized way to communicate. The CANivore gives them a fast, reliable connection so they can all talk to your computer without getting confused. Swerve drivetrains often need one because the roboRIO alone would be overwhelmed with data.
Why We Choose CTRE Hardware
CTRE's Unique Advantages
Full PID Control
Complete PID implementation with kP, kI, kD, and advanced filtering options that other vendors don't provide.
Feedforward (FF)
Built-in feedforward control for gravity compensation and velocity control that competitors lack.
Motion Profiling
Motion Magic and motion profiling for smooth, controlled movements.
Rotations Units
Motor positions measured in rotations instead of encoder ticks or radians.
Phoenix Software Resources
Connecting to Your Device
Important Setup Steps
- Plug the computer into CANivore
- Make sure the "CANivore USB" is checked
- Change "Team # or IP" to "localhost"
- Your CANivore should now appear in Phoenix Tuner
- For this workshop, please name your CANivore: "canivore"
Updating Your CTRE Products
Using Phoenix Tuner
Open Phoenix Tuner and connect to your robot
If you have issues connecting to your robot,view this guide
Batch update all products of the same model
Select one of the devices and then click the batch update icons
Verify Updates
The device cards will be green if the firmware is the latest
Motor Update Process & Status Colors
How to Update Motors
Use Phoenix Tuner to update your motor firmware. Select devices and use batch update to get every motor on the latest firmware.
Card Colors
The color of the device cards is helpful as a visual indicator of device state. The meaning of the card color is also shown as text underneath the device title.
| Color | Description |
|---|---|
Green | Device has latest firmware. |
Purple | Device has an unexpected/beta firmware version. |
Yellow | A new firmware version is available. |
Red | Device has a duplicate ID. |
Blue | Failed to retrieve list of available firmware. |
Tip
Having Issues?
If you are having issues connecting to your CANivore or other devices, make sure to update your CANivore firmware.
Let's Run Some Motors
Testing Motor Movement
Quick Test Steps:
- Open up your motor in Phoenix Tuner
- Click Config
- Click the three dots
- Click Factory Default
- Set the drop-down to Voltage Out
- Click DISABLED to enable
- Apply voltage to test the motor
Safety First
Always start with low voltage values when testing motors. Make sure your mechanism can move freely and won't cause damage.